Cutting and Stitching of One Piece with back side dori.
Stitching a one piece is very easy.
Measurements:-
Length:-shoulder as per your wish + 2 inch
Breadth:- chest circumference +4inch
Neck:-
Front neck and Back neck 5inch and 3inch or as per your wish.
Shoulder:-( Shoulder to shoulder divide by 2) +1
Sleeve:-Shoulder to 5inch or as per your wish +2
Folding, marking and cutting:-
Seeing the figure do the folding and marking. After markings do the cutting.
For the stitching:-
First you have to stitch neck side you have to put there paipin or you can fold inside.Next fold bottom side 1inch inside,you have to fold sleeves circumference.Now you have to join shoulder side and next join your sleeves and then you have to stitch sides.
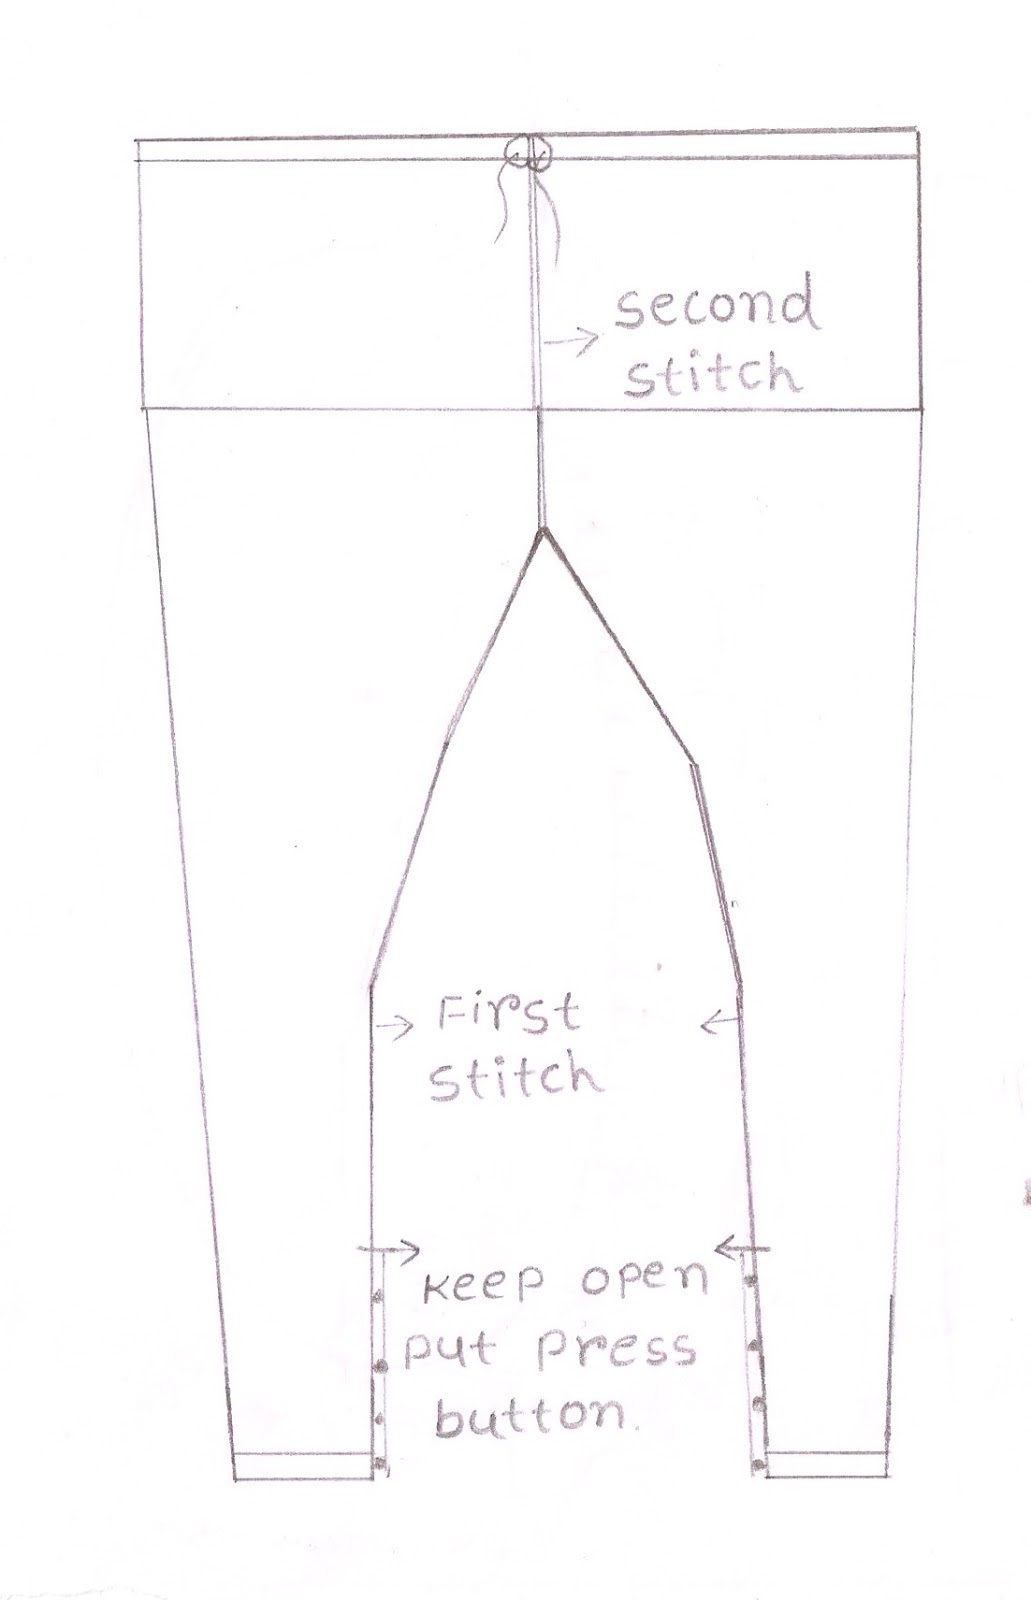
Step 5:-How to stitch dori?
Stitching a dori is very simple. (Refer to the diagram).
1: First take the cross pieces of your piece.
2: Now cut these pieces and seeing the figure join them. Now you will get a long cloth.
3: Now fold the cloth and make a stitch.
4: Now turn the cloth piece inside out.
Your Dori is ready!
Step 6:-Now you have to attach the dori back side.
Congratulations!!! Your One piece with back side dori is ready!


Author: Mrs. Bhawna Gupta is a professional tailor for ladies dresses (Indian Blouse, Chudidar, Salwar Suit, Maxi, Frock, Kids Skirts, Tops etc) over more than a decade. She had completed the Advanced Diploma in Tailoring from Madras Institute of Tailoring. Disclaimer - This BLOG is published for learning purpose. Author has no liability for any damage or loss. This blog cannot used for commercial, publishing in other electronic media purposes.