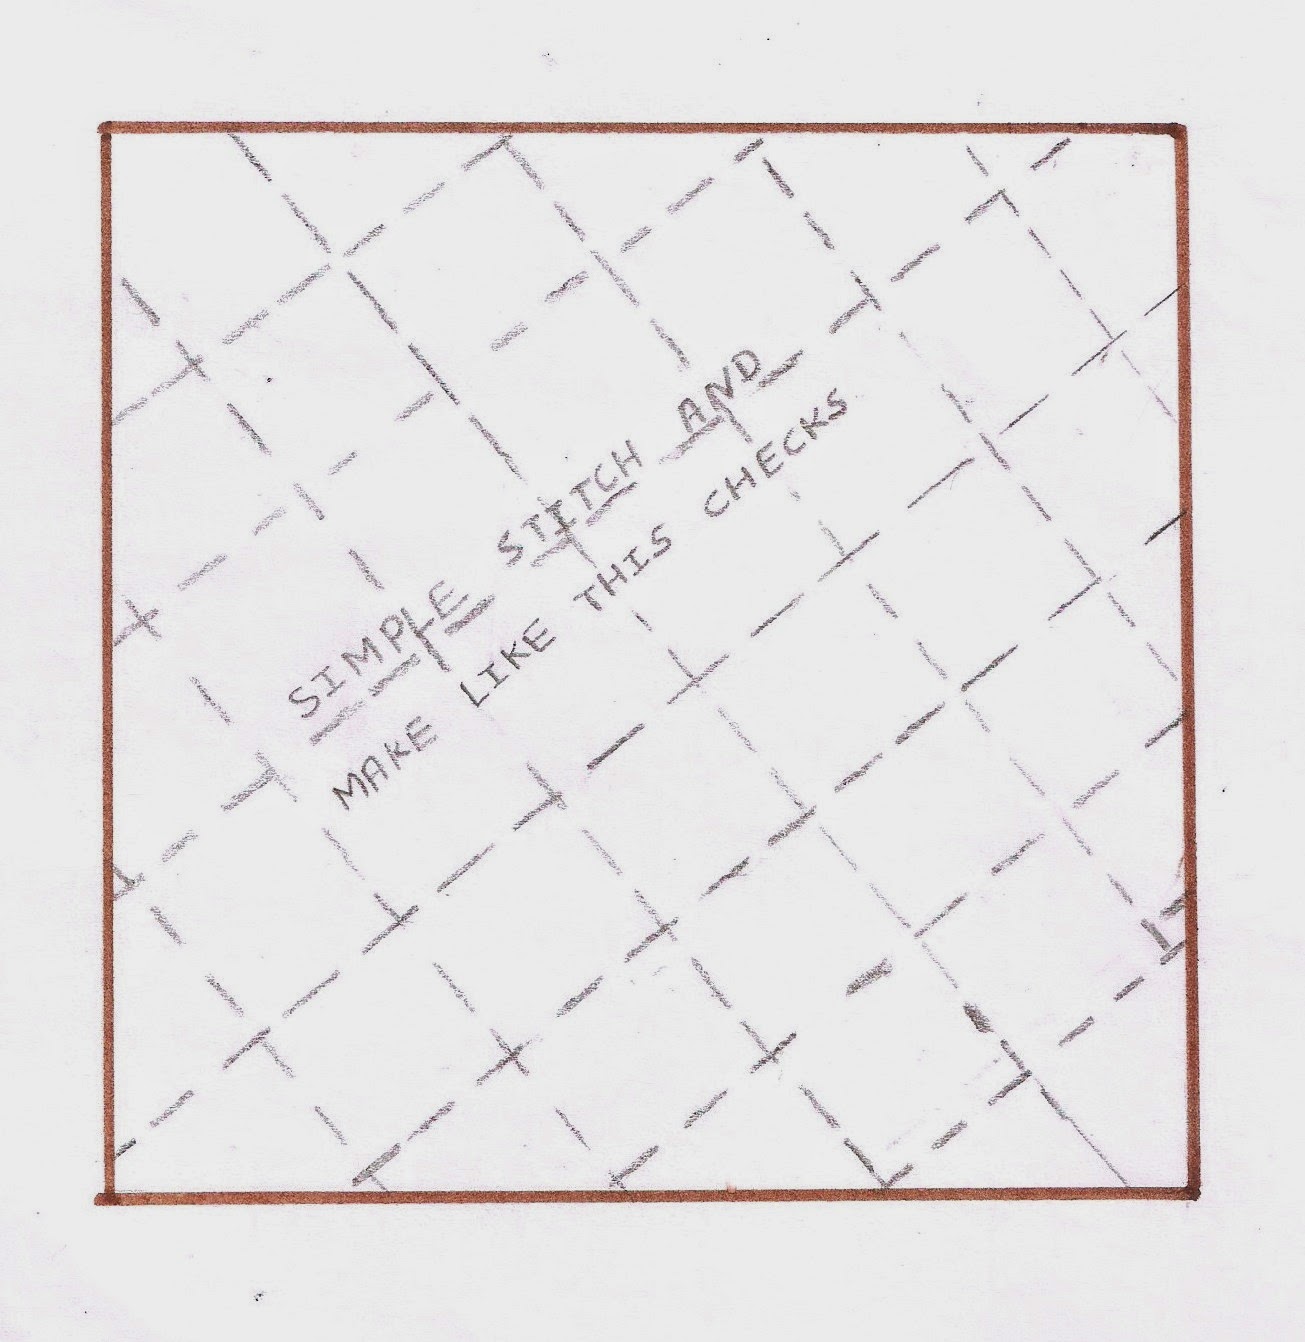
Cutting and Stitching of a 3/4th legging.
STEP1-: First so take the measures according to:
STEP1-: First so take the measures according to:
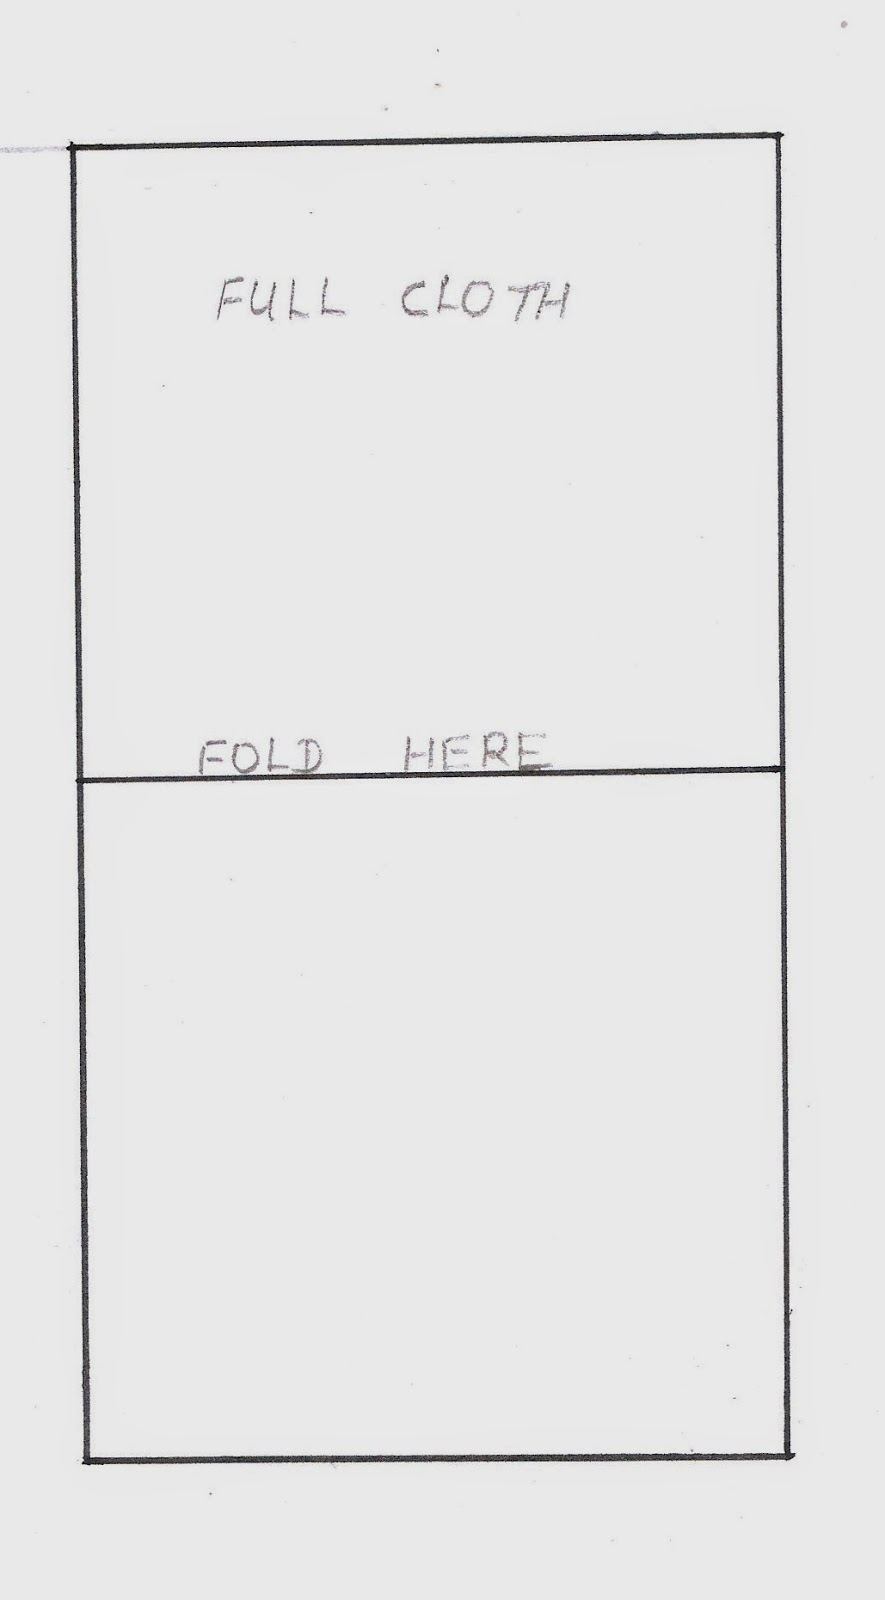
length: waist to knee (or as long as you like) +2 inch.
breadth: Waist + 10inch divided by 4.
bottom side circumference+1inch.
*If your age is more then10 years then put there 2and1/2inch,otherwise put there 1and
1/2inch.
Now we will start stitching.
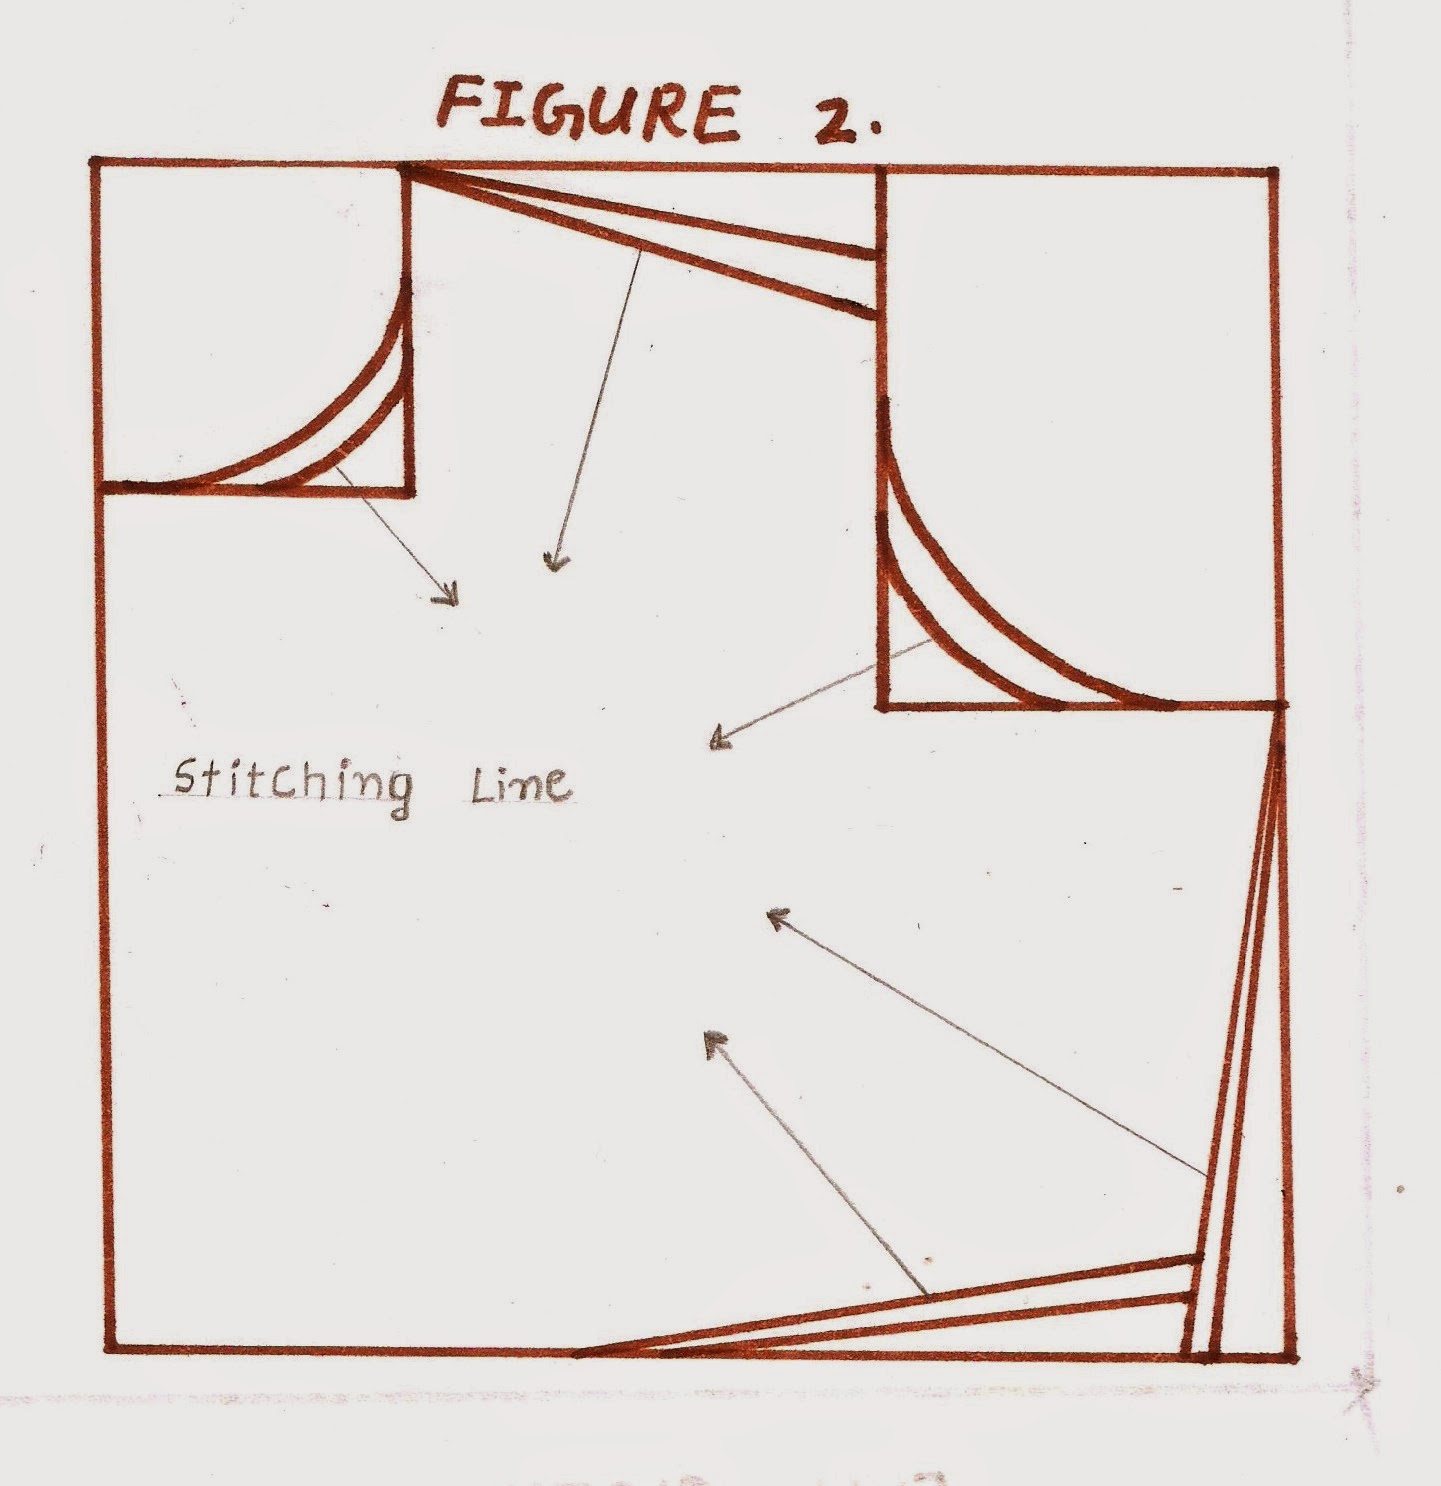
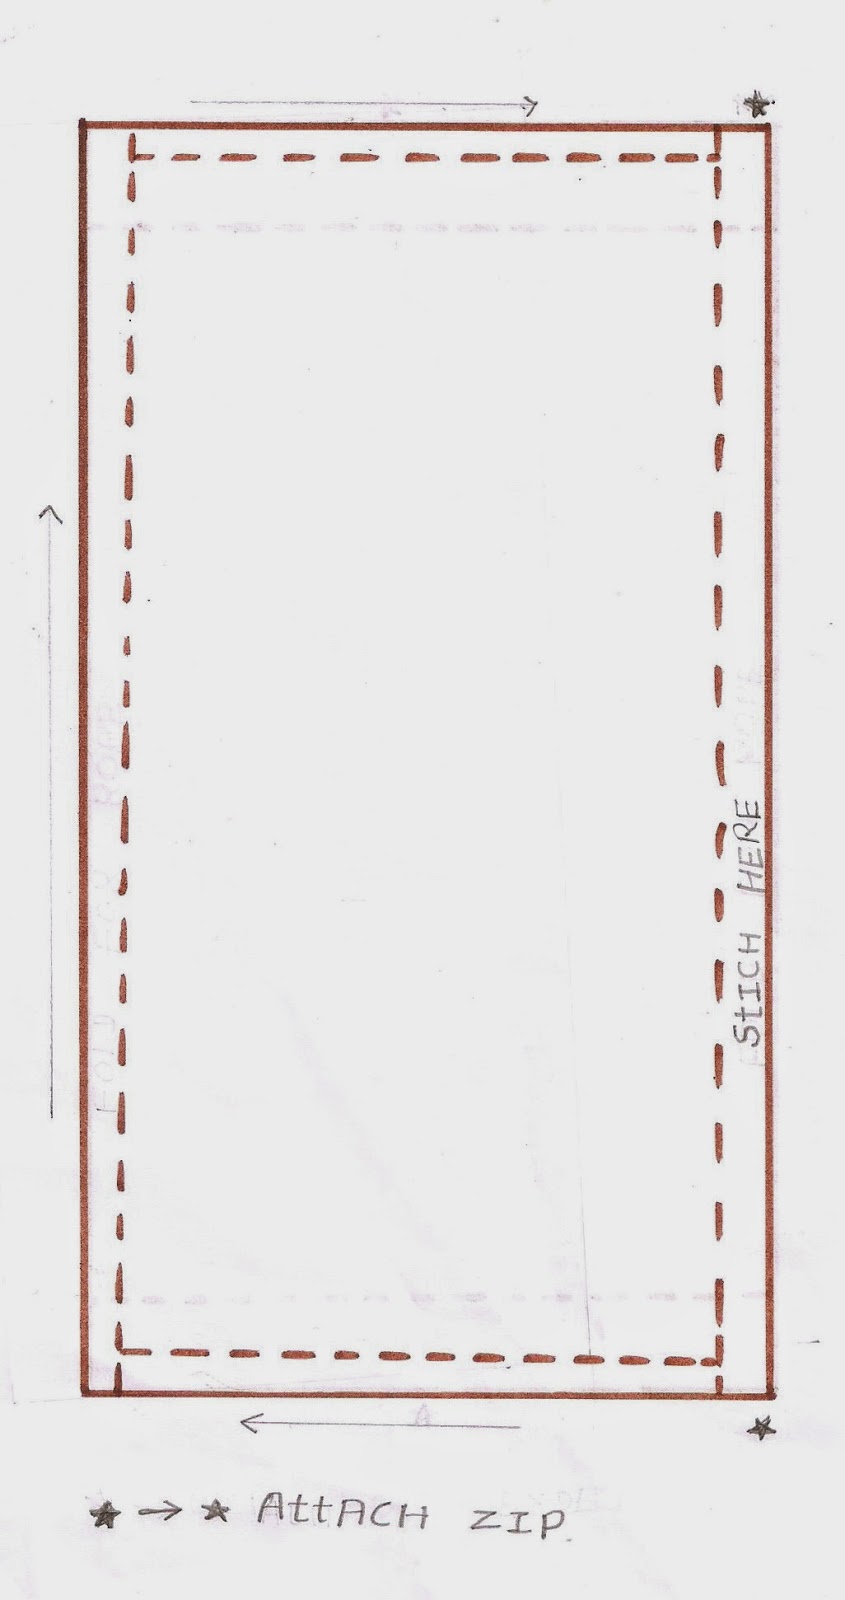
STEP2-: First fold 1/2inch from bottom side and then insert an elastic. Now you have to fold waist
side 1inch and insert a 1/2 inch broad elastic there.Next you have to join both piece bottom to centre separately.
Now join both the pieces.
And your Simple Heram is ready!


Author: Mrs. Bhawna Gupta is a professional tailor for ladies dresses (Indian Blouse, Chudidar, Salwar Suit, Maxi, Frock, Kids Skirts, Tops etc) over more than a decade. She had completed the Advanced Diploma in Tailoring from Madras Institute of Tailoring. Disclaimer - This BLOG is published for learning purpose. Author has no liability for any damage or loss. This blog cannot used for commercial, publishing in other electronic media purposes.
.png)